Tying the Simple Sculpin

Sculpins are a major food source for trout and smallmouth. This is a must have pattern for your fly box!
Tying the Simple Sculpin
Material List:
Ahrex TP650 Streamer Hook - Order Here
Flymen Fly Fishing Sculpin Helmet - Order Here
Hareline Cross-cut Rabbit Strips - Order Here
Hareline Black-Barred Rabbit Strips - Order Here
Hareline Polar Chenille - Order Here
Color Recommendations: Olive, Brown, and Black
Size Recommendations: Size 1 and 2
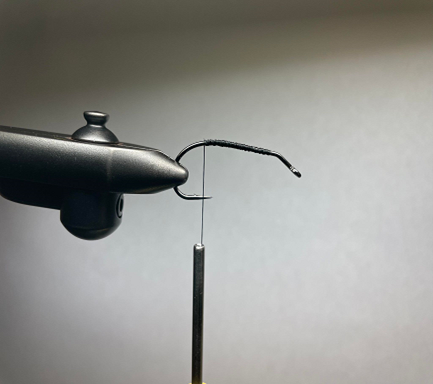
Step 1: Once you have you hook securely in your vise, start your thread wraps at the bend by the eye of the hook. Wrap your thread all the way to about the hook point.
Step 2: Tie in the polar chenille down to where the hook starts to bend.
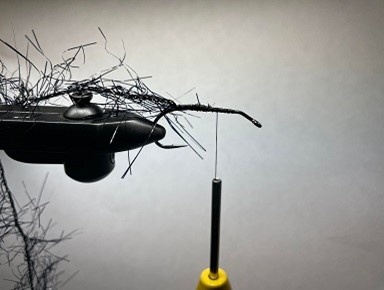
Step 3: Wrap the polar chenille ¾ up the shank of the hook and tie off.
Step 4: Pierce a rabbit strip with the hook point
Step 5: Tie in rabbit strip where you tied off the polar chenille.
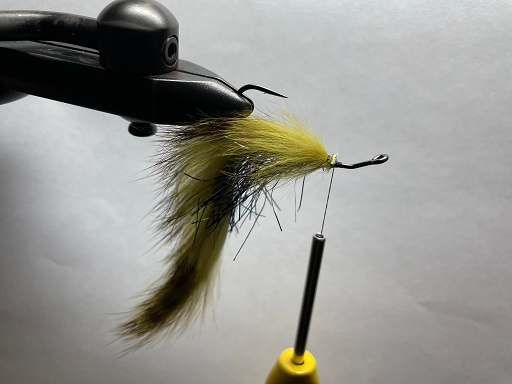
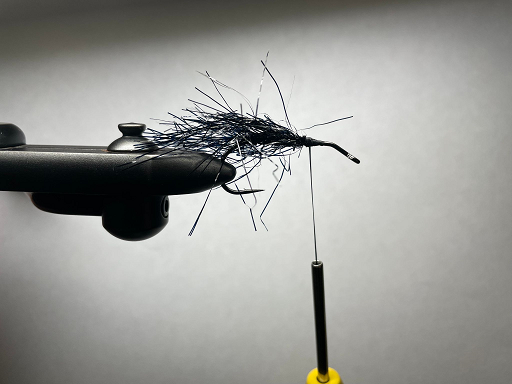
Step 6: Make a dubbing loop with olive rabbit hair.
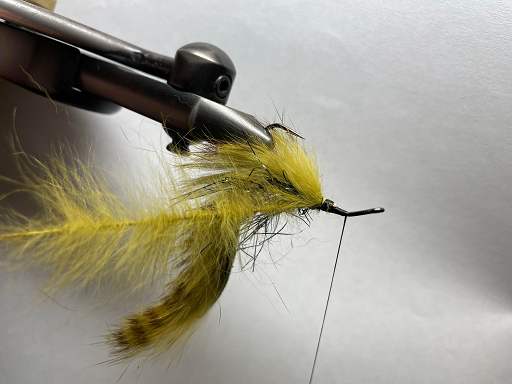
Step 7: Wrap your dubbing loop the shank. Once that’s tied off, create a ball of thread. This helps keep the helmet secure.
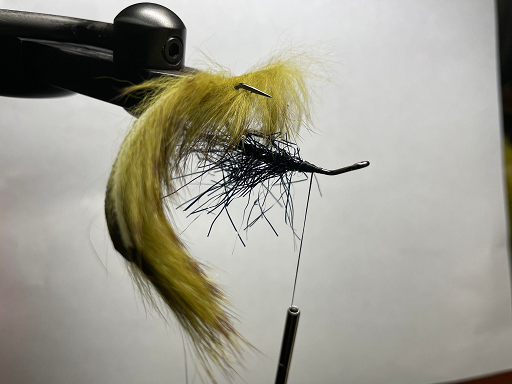
Step 8: Cover that ball of thread with super glue. Slide the helmet on.
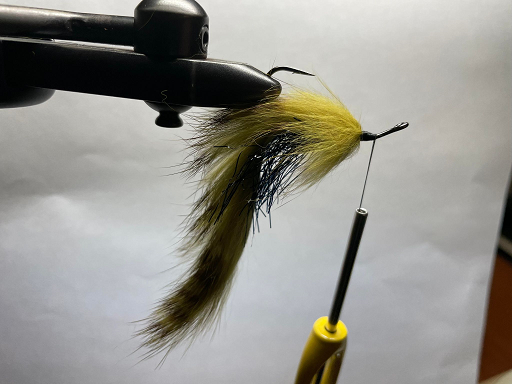
Step 9: Reattach your thread and built a thread dam. This thread dam will prevent the helmet from ever popping off.
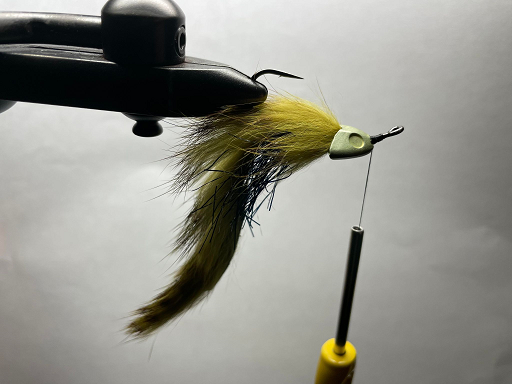
Step 10: Once you have built the dam, cut of your thread and cover it with uv resin.
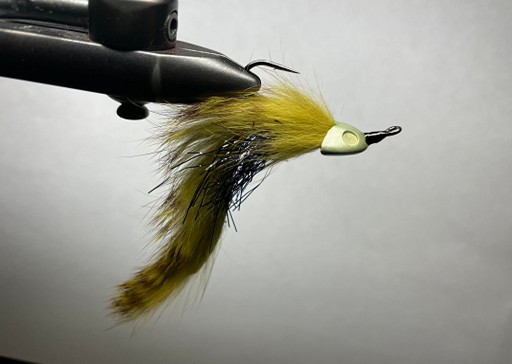
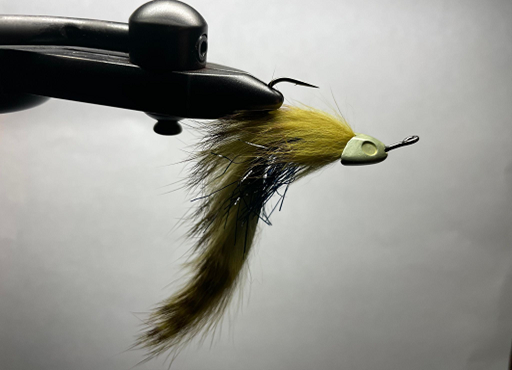
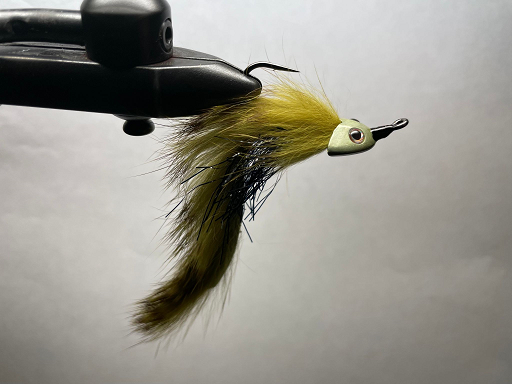
Step 11: Glue in the eyes. Now you’re all finished up with one of the simplest ways to imitate a sculpin!
Comments
Be the first to comment...